.
HOW TO GET STARTED:
Put Your Community on the Map in 5 Easy Steps!
.

.
Putting your community on the map can be as SIMPLE as
a FEW QUICK & EASY STEPS.
and 1 to 2 CLASS PERIODS!
Remember the KISS: Keep it Short and Simple!
1 PREPARE
Explore the private participant section and learn about the project! Plan a class walk. Copy the Kids’ Guide parental consent form, and a field trip form if your school requires one to take a class walk in your local neighbourhood.
.
2 HOLD a CLASS DISCUSSION
Hold a class discussion about your neighbouring community, and distribute the parental consent forms.
.
3 GO on a NEIGHBOURHOOD WALK and have STUDENTS take some photos **
Go for a class walk in your neighbouring community, and have students take pictures of places of interest and importance to them.
.
4 SELECT some PHOTOGRAPHS
Have the students choose their favourite photographs to best represent their local community. [Minimum 3, maximum 10]
.
5 POST the PHOTOGRAPHS
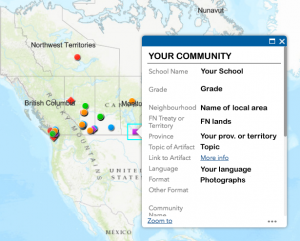
Ensure you have obtained parental consent for posting student content. Go to the Artifact Entry Form and post the class photos.
.
You’re now ON THE MAP
and part of the Kids’ Guide community.

.
~ ~ ~ ~ ~ ~ ~ ~ ~
.
.
.
.
Back to Private Participant Main Menu
.
Broken links on this page?
This is a collaborative team effort: please contact us and let us know!
